Getting started
Introduction
Welcome to ezkomment!
ezkomment is a product-as-a-service intended to provide an easy interface for you to embed a comment section to any websites.
This guide will help you set up your account, create your first site and finally get your comment section up, running and accessible by anyone from anywhere in the world.
Create a new account
You can sign up for an ezkomment account if you already have a GitHub account or a Google account. The whole process will be passwordless, as you will be directed to sign in with these third-party provider instead. If you do not yet have an account with any of these providers, please create an account there first. We do not intend to support email-based authentication in the future, and if you would like to log in by a different provider instead, please open an issue.
If you already have either a GitHub account or a Google account, you can continue in respective sections.
Sign up with GitHub
-
Navigate to the authentication page.
-
Click on Continue with GitHub.
-
There will be a pop-up for the auth provider to continue. If your browser blocks that pop-up, please allow it and try again, otherwise go to next step.
-
In the pop-up, if GitHub prompts you for sign in credentials, that means you are not yet authenticated with GitHub, so please sign in first. Otherwise go to next step.
-
Click Authorize.
-
The pop-up should close automatically and you will be redirected to the ezkomment dashboard. You have successfully created your ezkomment account.
Sign up with Google
-
Navigate to the authentication page.
-
Click on Continue with Google.
-
There will be a pop-up for the auth provider to continue. If your browser blocks that pop-up, please allow it and try again, otherwise go to next step.
-
In the pop-up, if Google prompts you for sign in credentials, that means you are not yet authenticated with Google, so please sign in first. Otherwise go to next step.
-
If you are presented with a list of accounts, that means you have several Google accounts already authenticated at the same time, so click on the account with which you want to sign in to ezkomment.
-
The pop-up should close automatically and you will be redirected to the ezkomment dashboard. You have successfully created your ezkomment account.
Create a new site
-
Visit the user dashboard. It will be where all of your sites are listed.
-
The dashboard should not look too exciting yet, since you have not created anything. Go ahead and click on Add a new site. Alternatively, you can click on New site on the navigation bar.
-
Under Site name, input the site name. The site name must be a valid URL slug (since it will feature in the site dashboard URL). If you know what a URL slug is, input whatever you like, otherwise let's continue by inputting
blogfor now (you can change this later). -
Under Site domain, input the site domain. If you already have a website deployed to the Internet, you can input the domain (including the subdomain if you want). Otherwise let's continue by inputting
*(one single asterisk) for now (once again, you can change this later). -
Click on Add a new site.
-
You will be redirected to your site dashboard. You have successfully created a new ezkomment site!
Create a new page
-
Following previous steps you should already be in the site dashboard of your newly-created ezkomment site. If for some reasons that is not the case, visit the user dashboard and click on the site that you have just created.
-
The page is not very exciting for now, since you have no pages yet, no one can comment anything. Go ahead and click on Add a new page. A modal will appear.
-
Under Page title, input the page title. It is intended for you to identify different pages under the same site, so for now name it whatever you like.
-
Under Page URL, input the page URL – once again, it is intended for identification purposes only. If you provided the site domain as
*when creating the site, you can input any valid URL here, otherwise make sure your URL is based on the site domain. -
Click on Create.
-
The modal will disappear, and you will be redirected to your page dashboard. You have successfully created a new ezkomment page.
Try out the comment section
As soon as you finish the previous step, a comment section for that page is up online. You can view a URL in the page dashboard, which is in this form
https://ezkomment.joulev.dev/embed/⟨siteId⟩/⟨pageId⟩
where siteId and pageId are the internal unique identification string for the site and page, respectively
Click Copy and paste it to the URL bar of a browser. You should see something like this
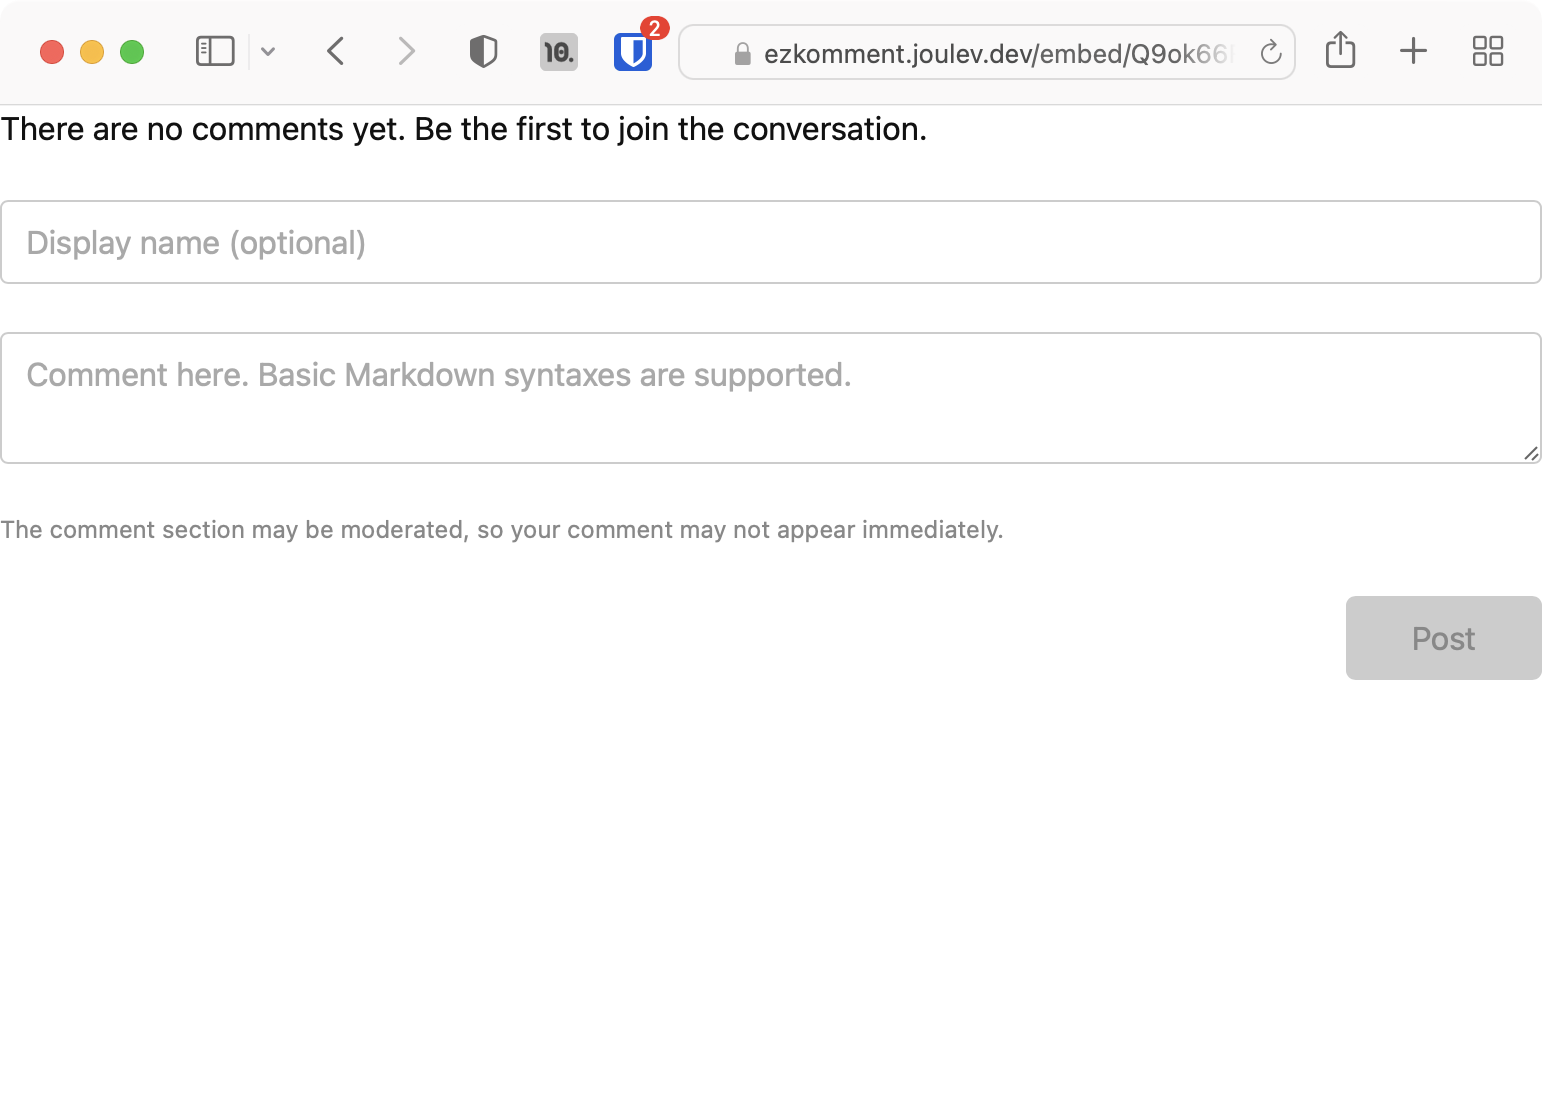 Screenshot of the embed page
You can now type in a comment and it will show up automatically. Notice that Markdown is supported here.
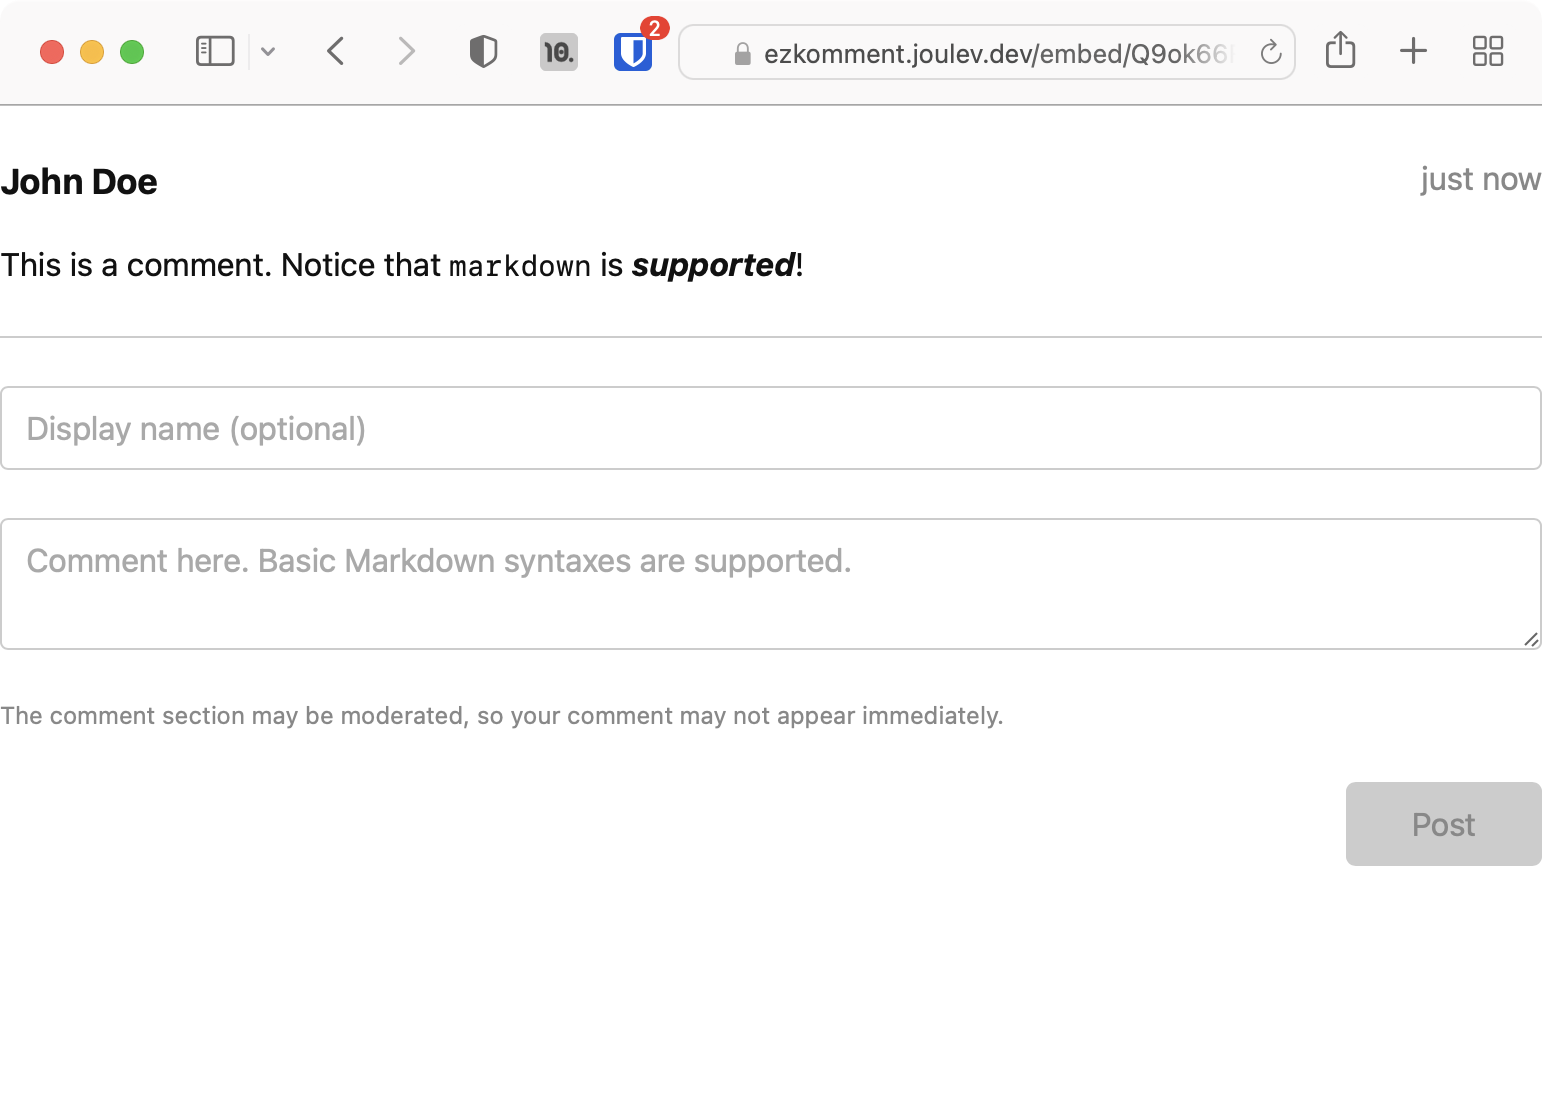 Screenshot of the embed page after a comment has been posted
Navigate back to the page dashboard, under Approved comments, you can see that comment already showing up.
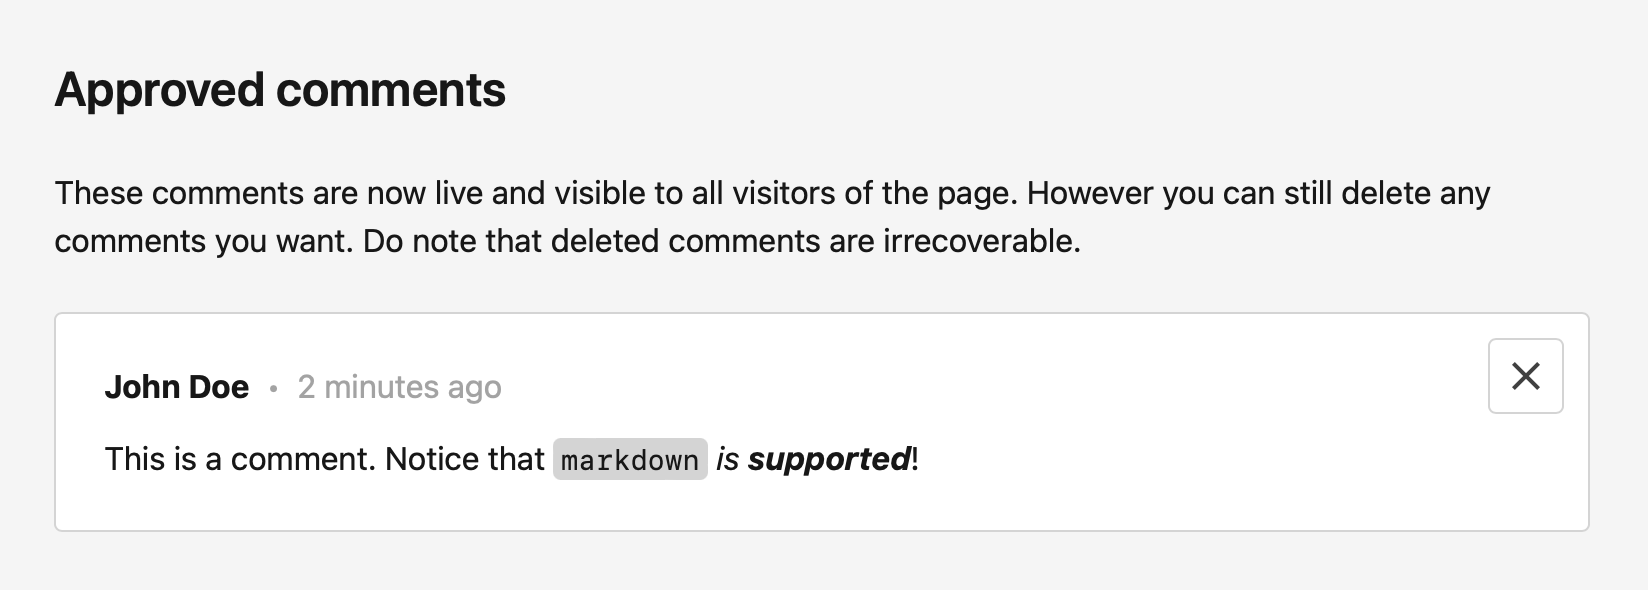 Screenshot of the page dashboard
Congratulations, your comment section is now up and ready!
Embed this comment section to your page
All what you need to do now is to embed this comment section to your website.
<iframe src="https://ezkomment.joulev.dev/embed/⟨siteId⟩/⟨pageId⟩"></iframe>
You may notice that right now the <iframe> is having a predefined height. You can change this height with CSS of course, but it is hard to know the true height of the comment section so that you can style it truly accurately. Luckily, ezkomment embed pages provide a simple API for this: when the page is embeded and whenever the number of comments change, it will automatically post a message to your main page. The message has the following format:
{
  "EzkFrameHeight": 123 // number
}
where EzkFrameHeight is the height of the <iframe> document. You can make use of this with JavaScript, for example
<iframe id="embedded-comments" src="https://ezkomment.joulev.dev/embed/⟨siteId⟩/⟨pageId⟩"></iframe>
<script>
  window.addEventListener("message", event => {
    if (event.data.hasOwnProperty("EzkFrameHeight"))
      document.getElementById("embedded-comments").style.height = event.data.EzkFrameHeight + "px";
  });
</script>
Now you can visit your page and see your comment section there. It should look something like this (deployment, source code):
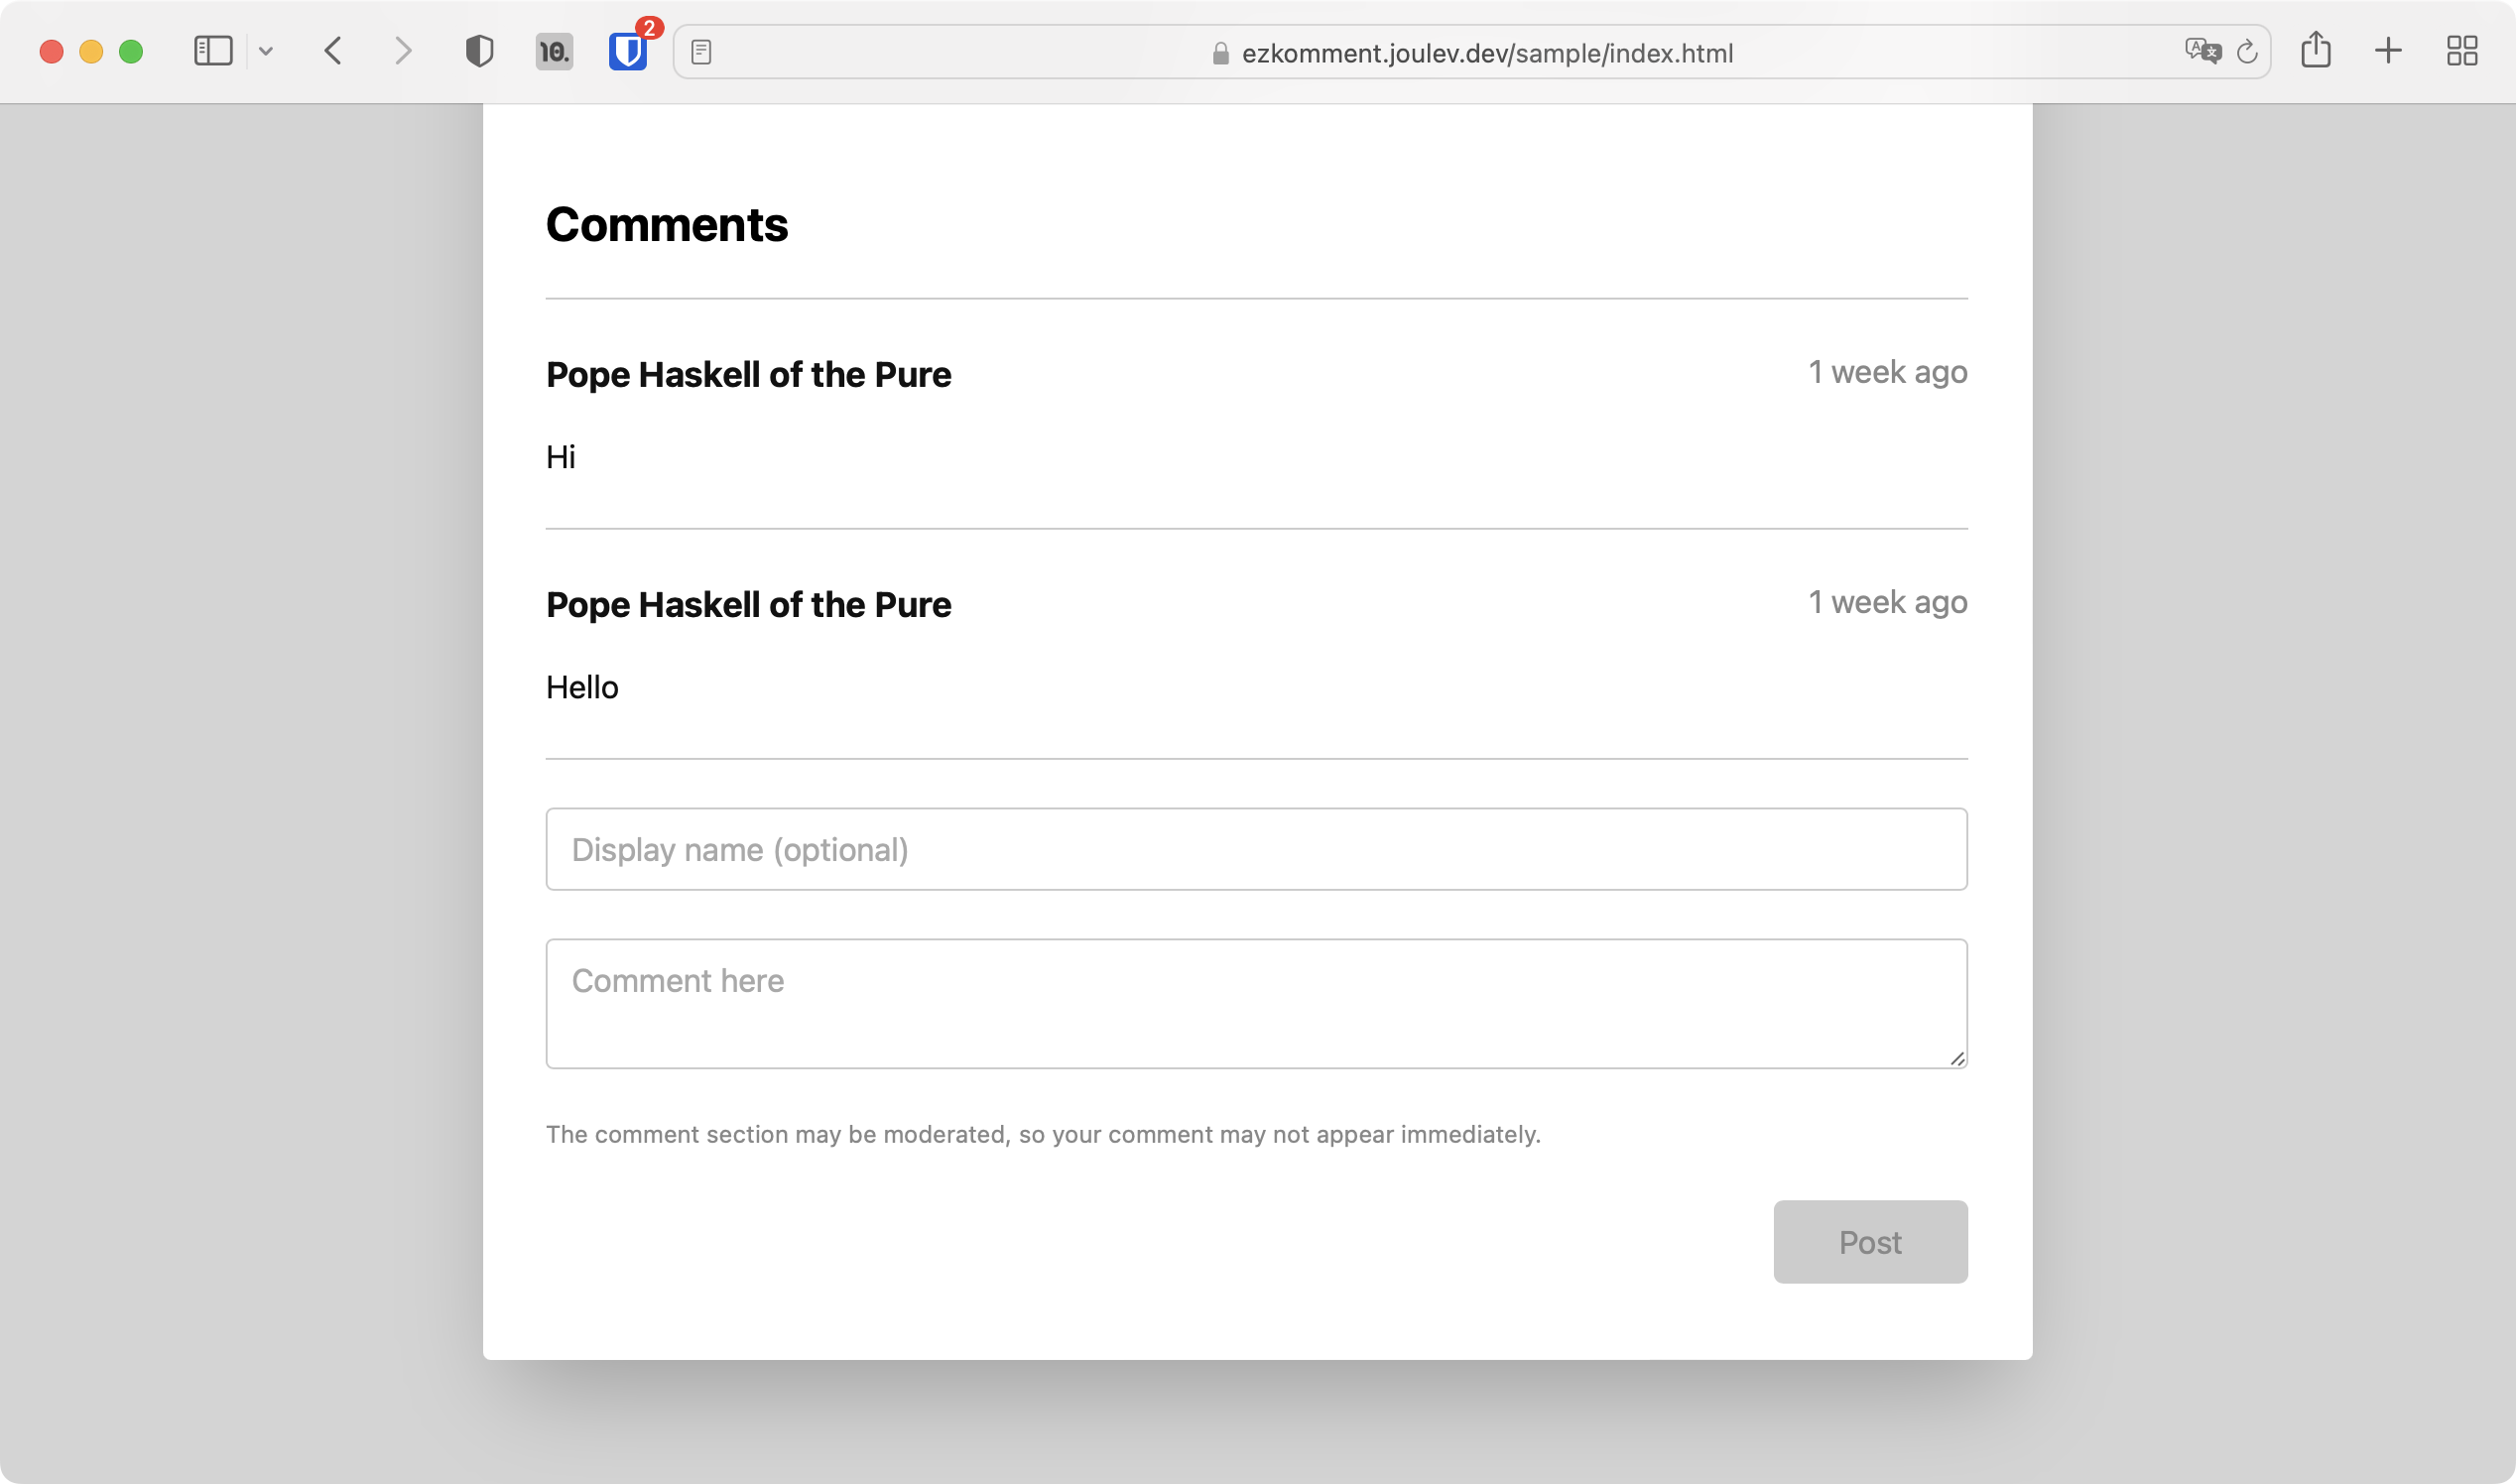 Screenshot of sample demo page
Congratulations – your comment section is now live, and if you deploy your website now, everyone can come in and post a comment!